OpenVMS 9.2-3 System Installation
Note that absolutely none of this is authoritative or directly based on relevant documentation. It’s mostly what I found and figured out and guessed and (in some cases) made up. Some of it may be wrong or dangerous or lead to disaster or confusion. I am not taking responsibility here for anything, not even spelling or good taste. Read and act on it at your own peril!
OpenVMS, usually just called VMS, which stands for “Virtual Memory System” (because it was one of the first such), is an operasting system from the DEC family of operating systems. It shares this honour with Windows NT (which was created by the same team but 15 years later) and Amiga OS (which was based on an operating system originally written for the DEC PDP-11). It is very different from Unix and Linux but shows (obviously) some similarities to Windows NT (and Amiga OS, presumably).
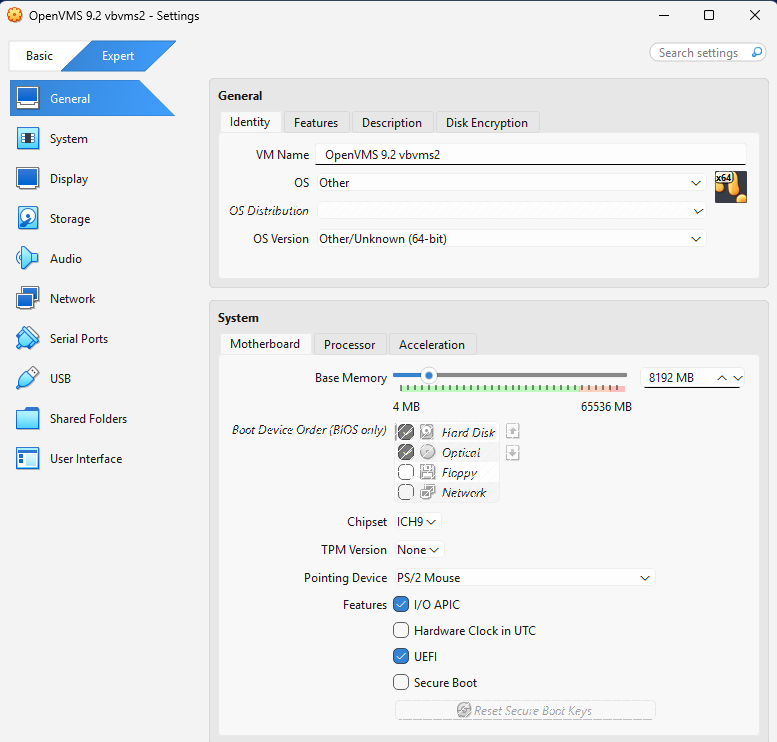
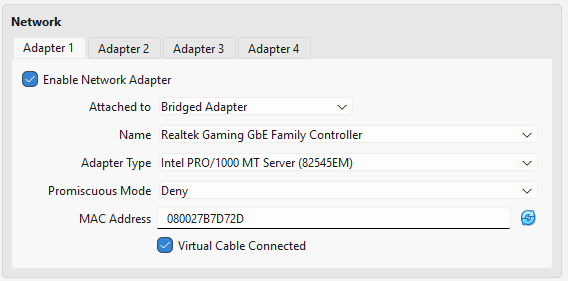
To create a OpenVMS VM in VirtualBox, copy these settings:
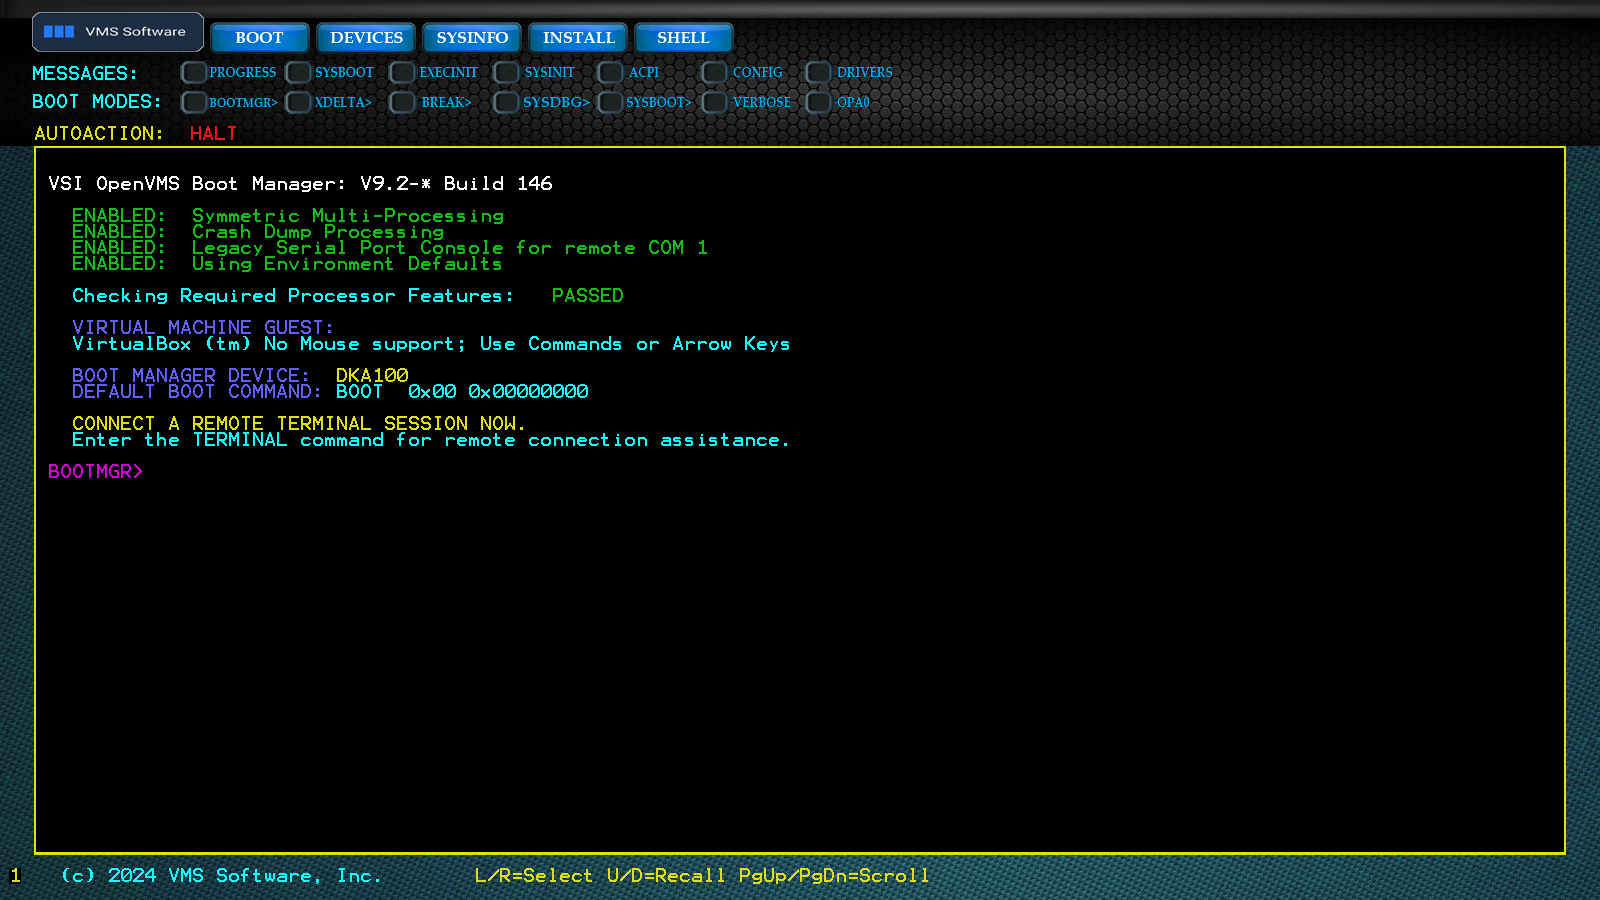
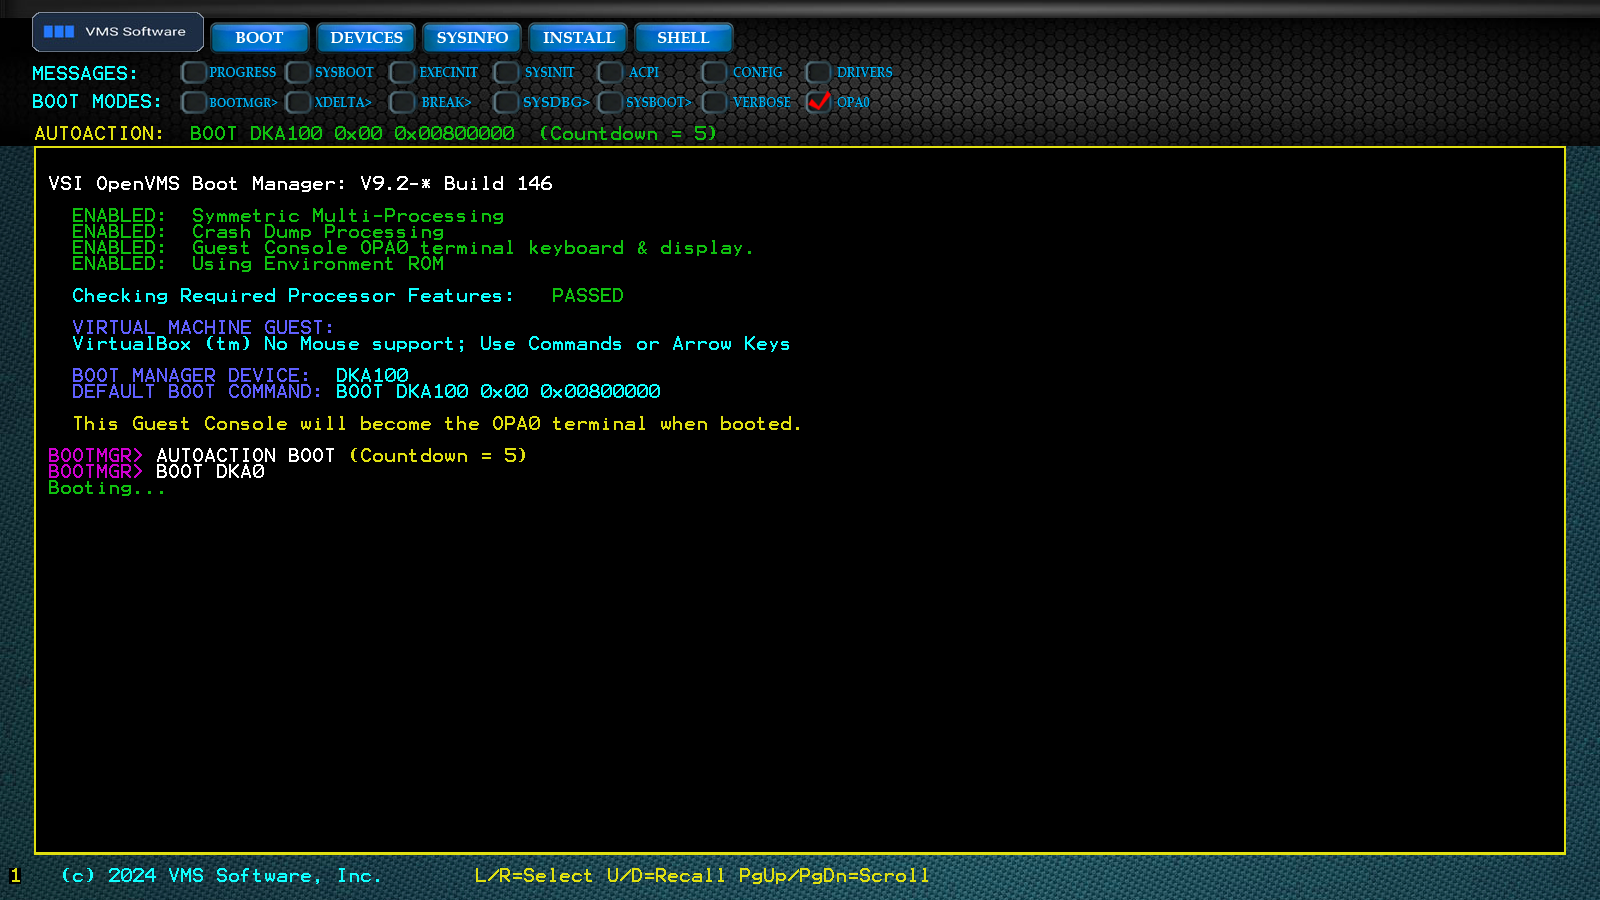
And the result can be a working OpenVMS Boot Manager:
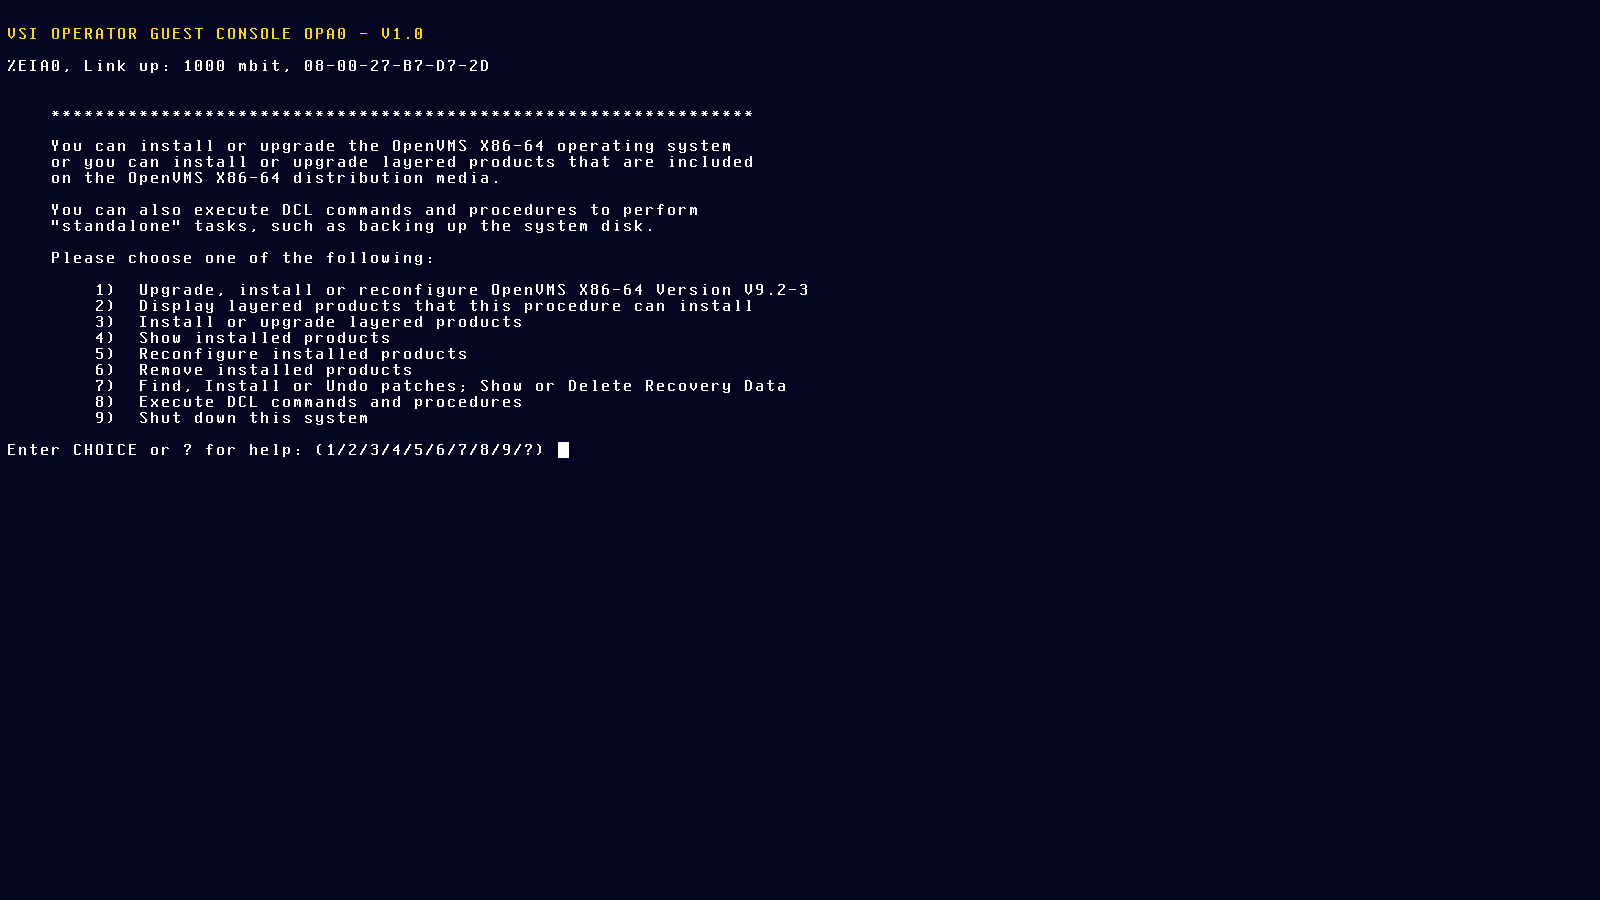
By default OpenVMS uses serial console rather than video screens, but using the OPA0 command, output can be redirected to the console. Then we boot the installer ISO (device name of DKA100).
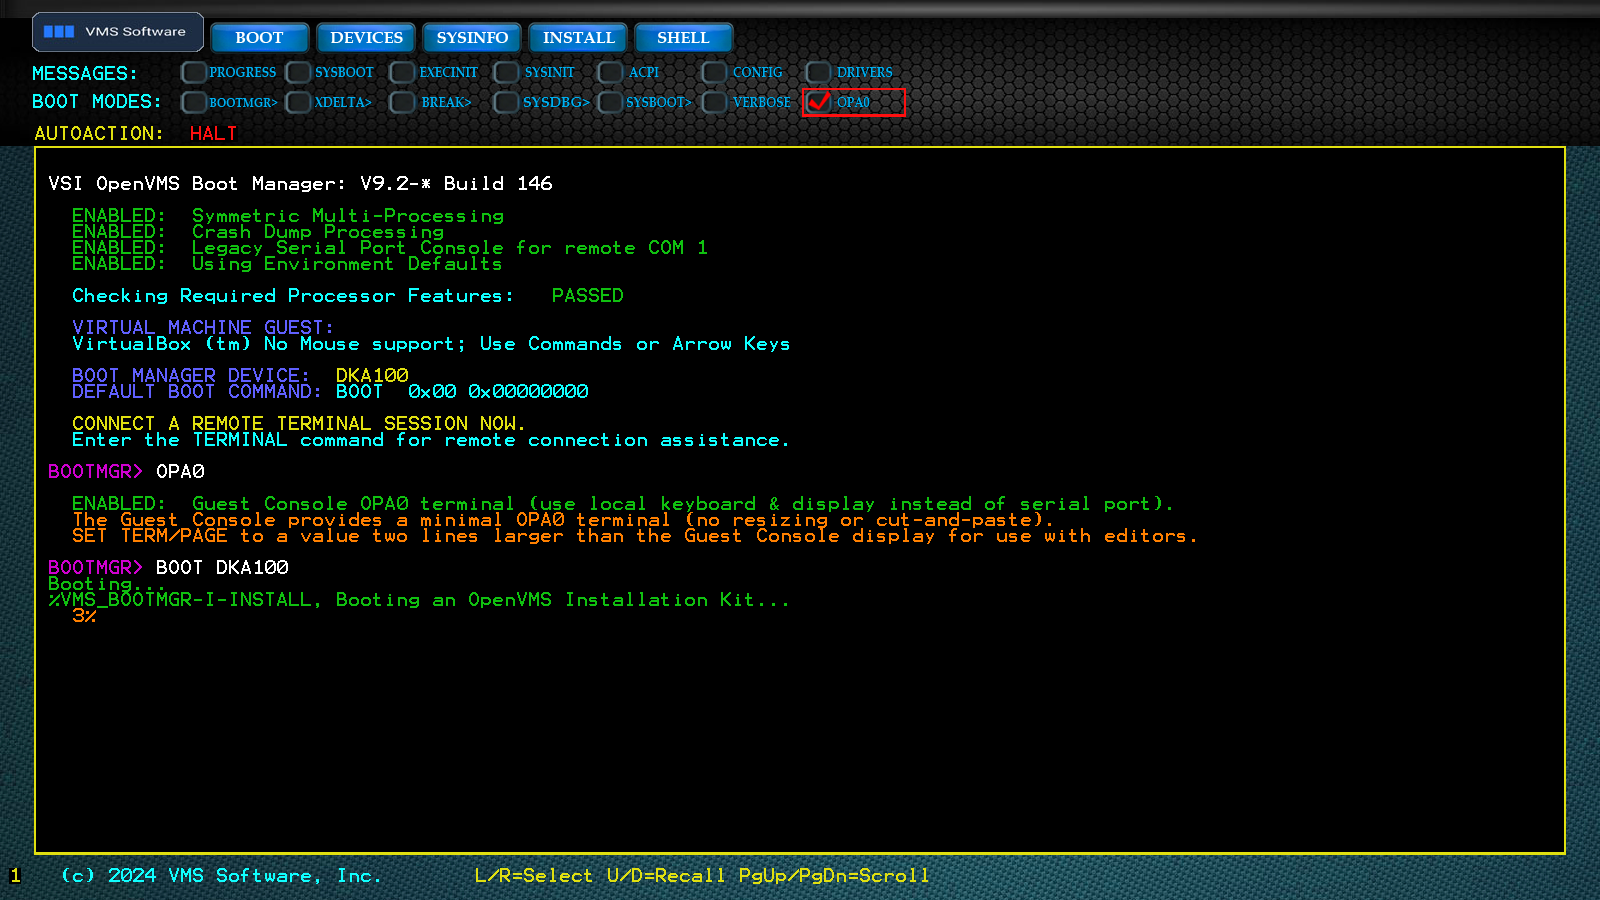
This boots into the installer:
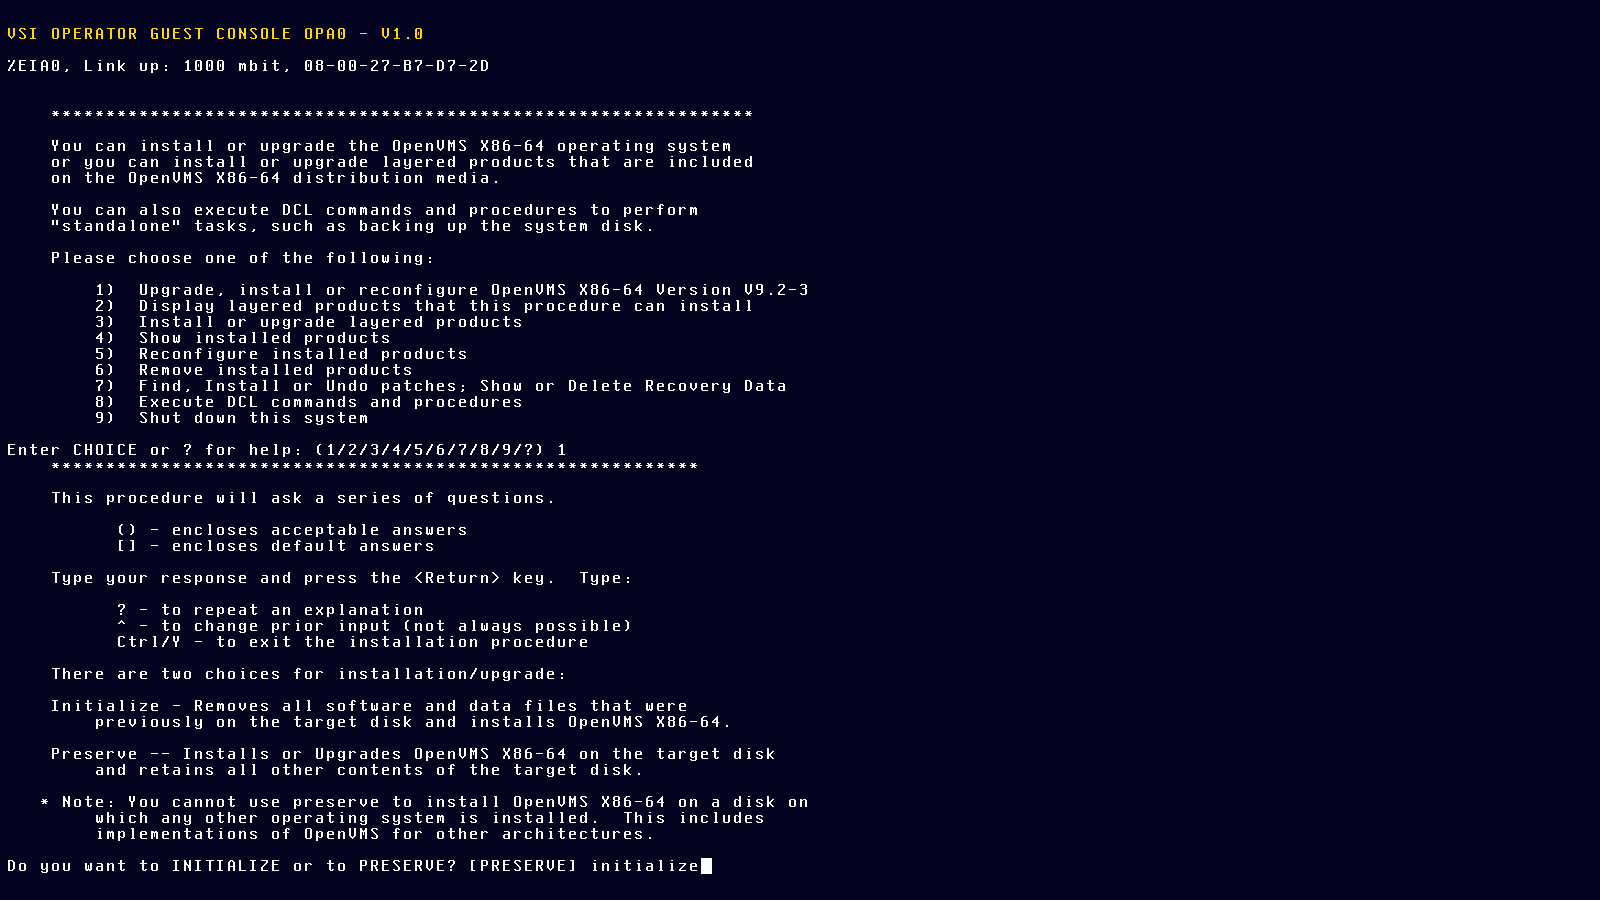
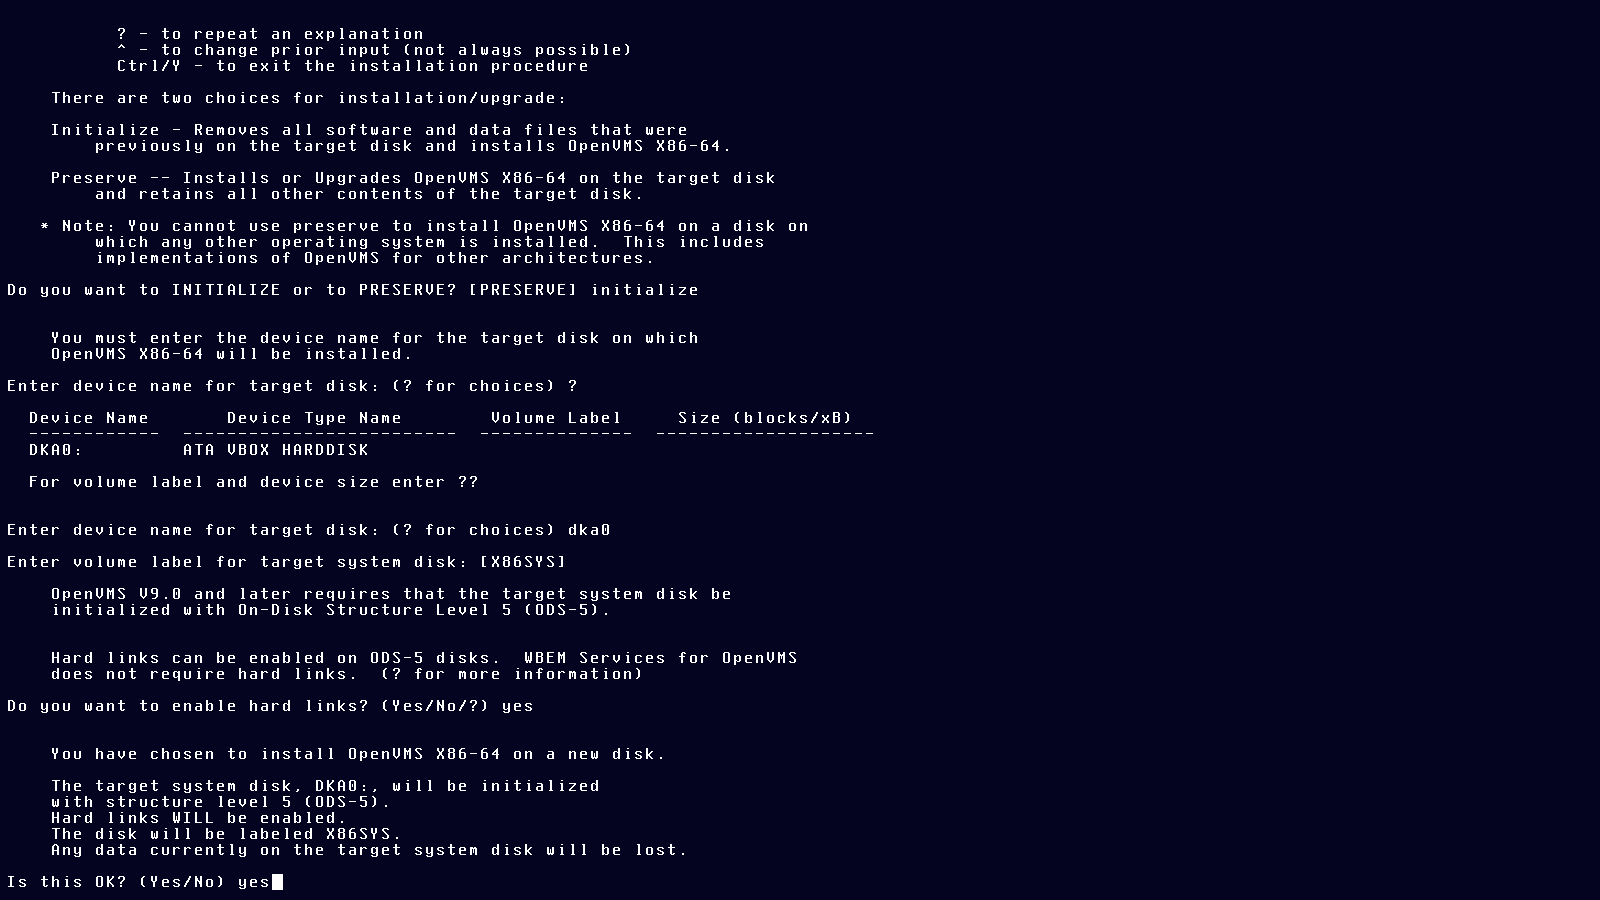
Usually the default answers are good, just make sure to initialize the new disk:
OpenVMS device names are similar to Windows drive letters, except they are device names and not drive letters. DKA devices are some kind of storage drive. DKA0 is the first such. DKA100 is the optical drive,for some reason. We have seen OPA0 as a video screen/console earlier.
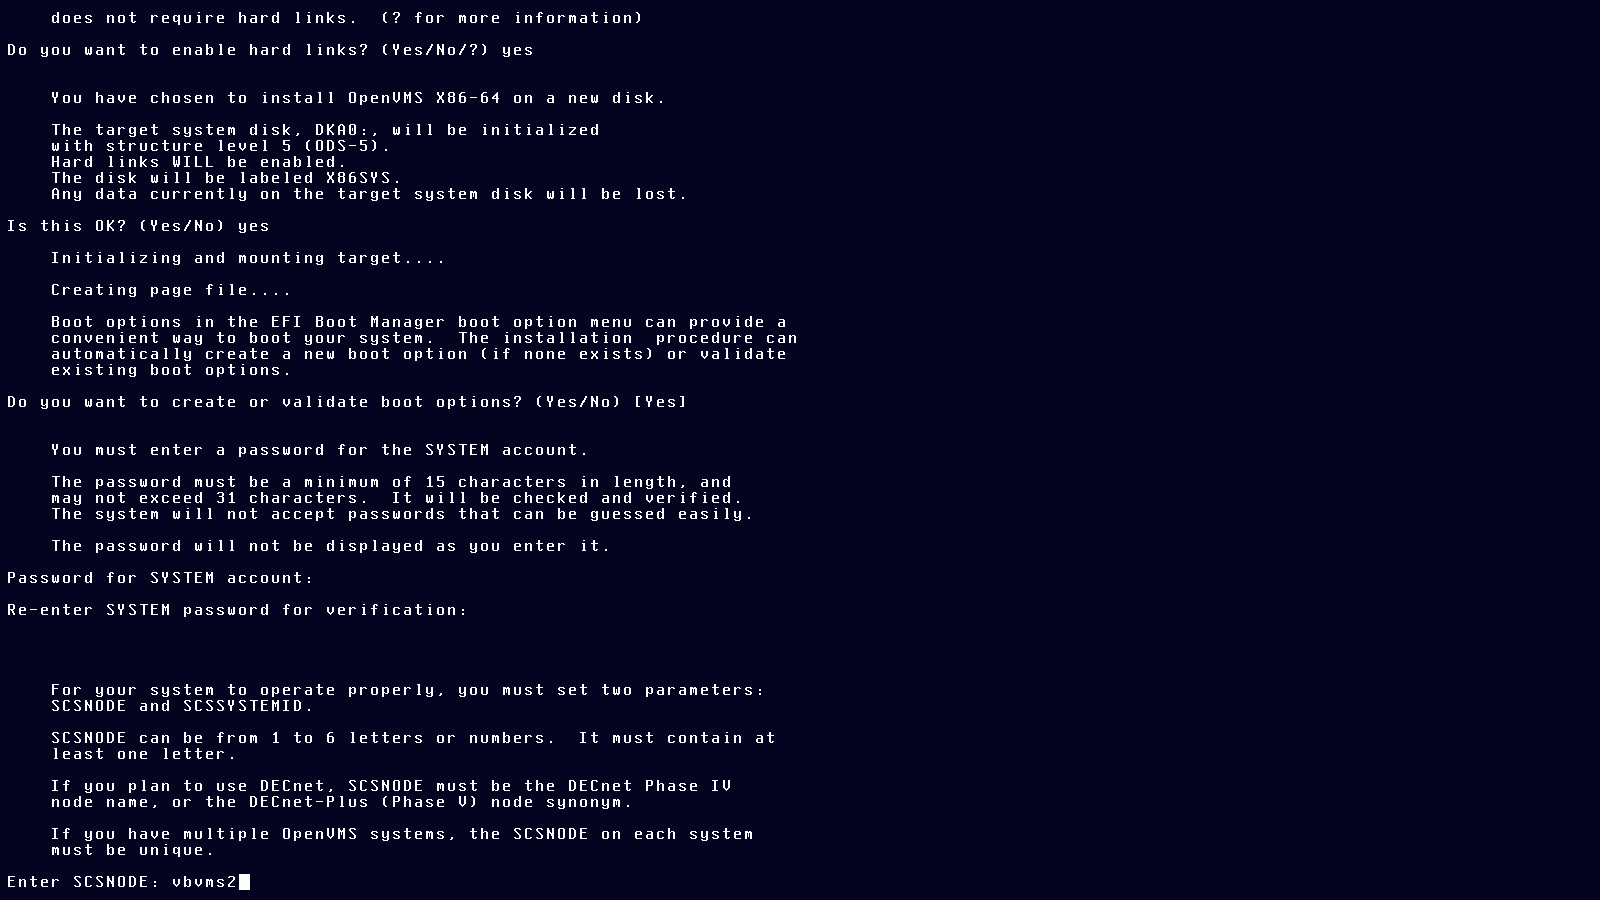
Choose a reasonable, easy-to-remember at least 15 characters password for your SYSTEM account, like Lg9f80A5fVgDoX2. The SYSTEM account is the equivalent of a Unix ROOT account. (Windows NT similarly has a SYSTEM account.) Name the node whatever you want.
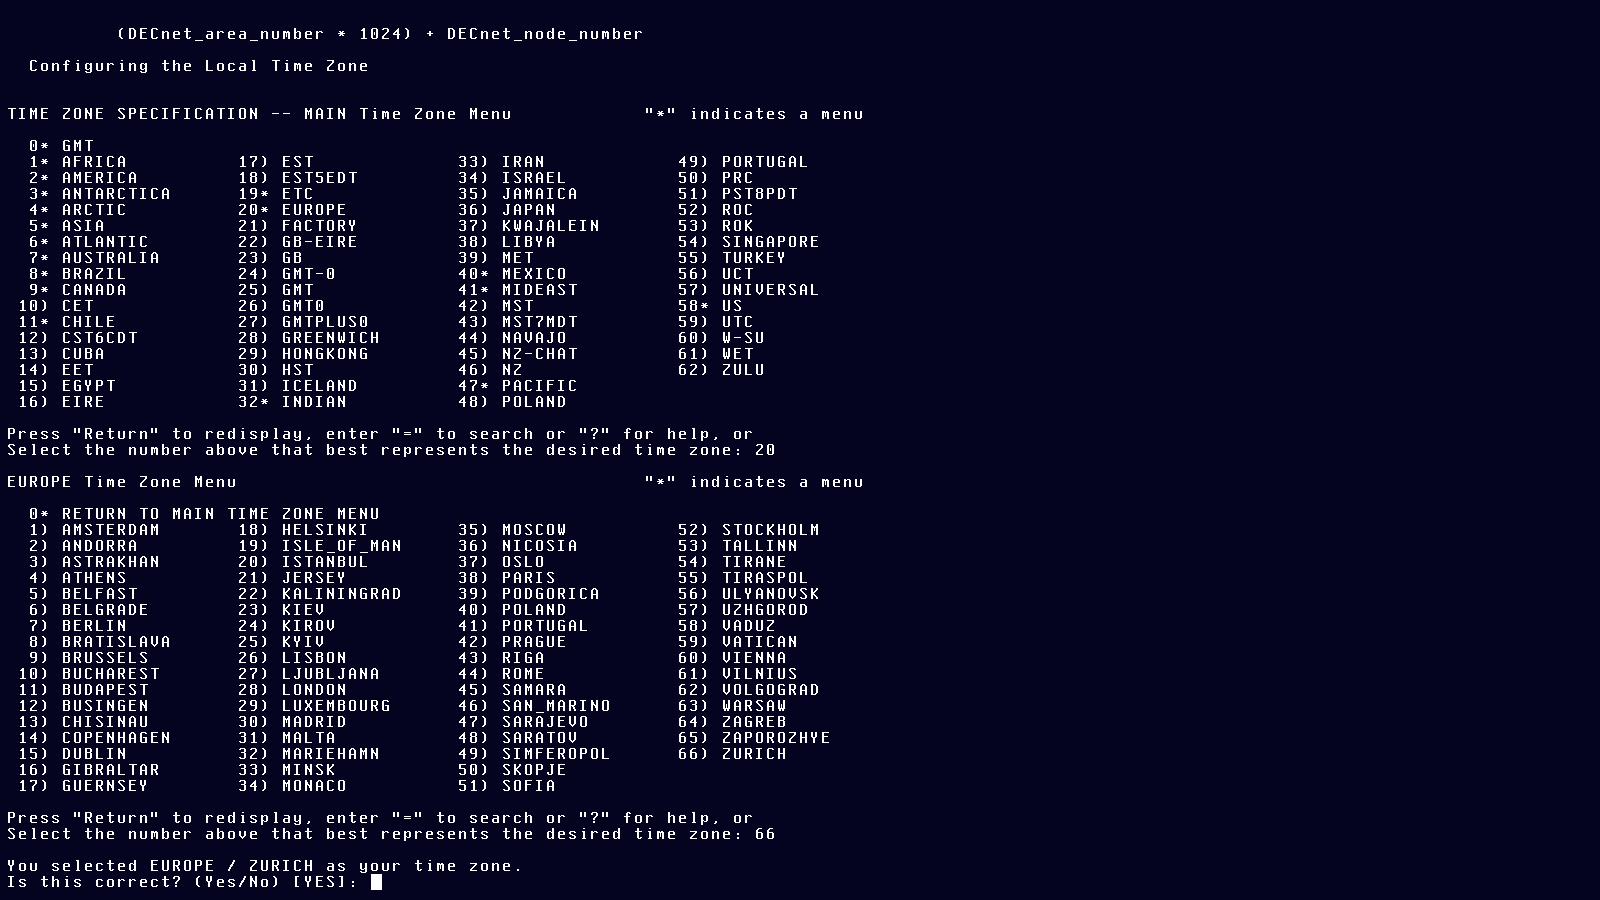
Select a timezone:
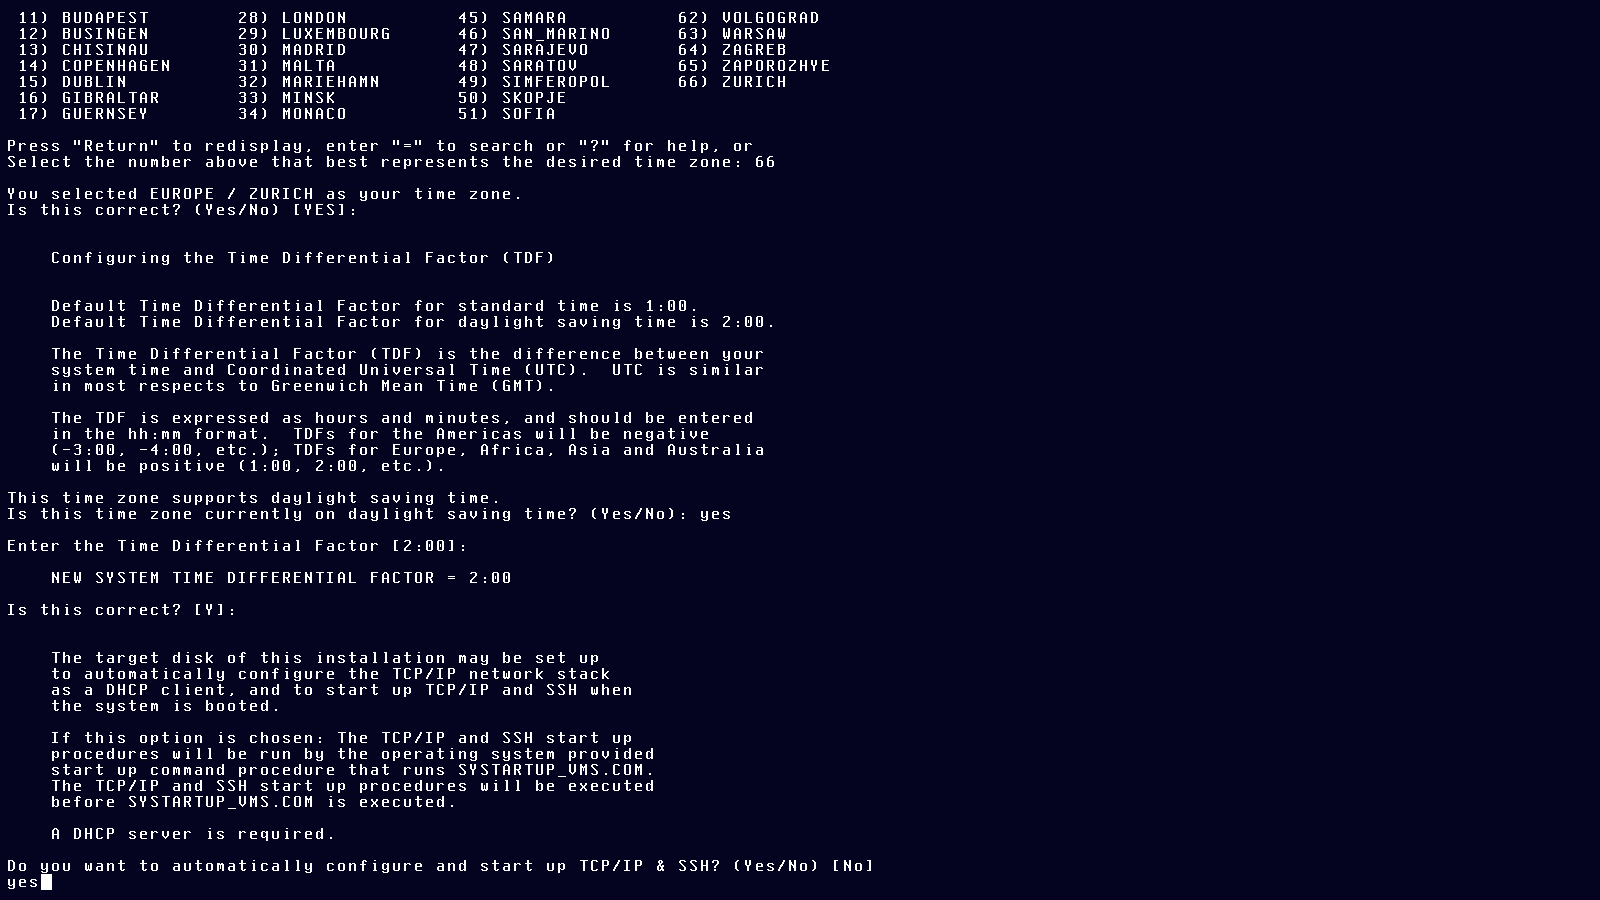
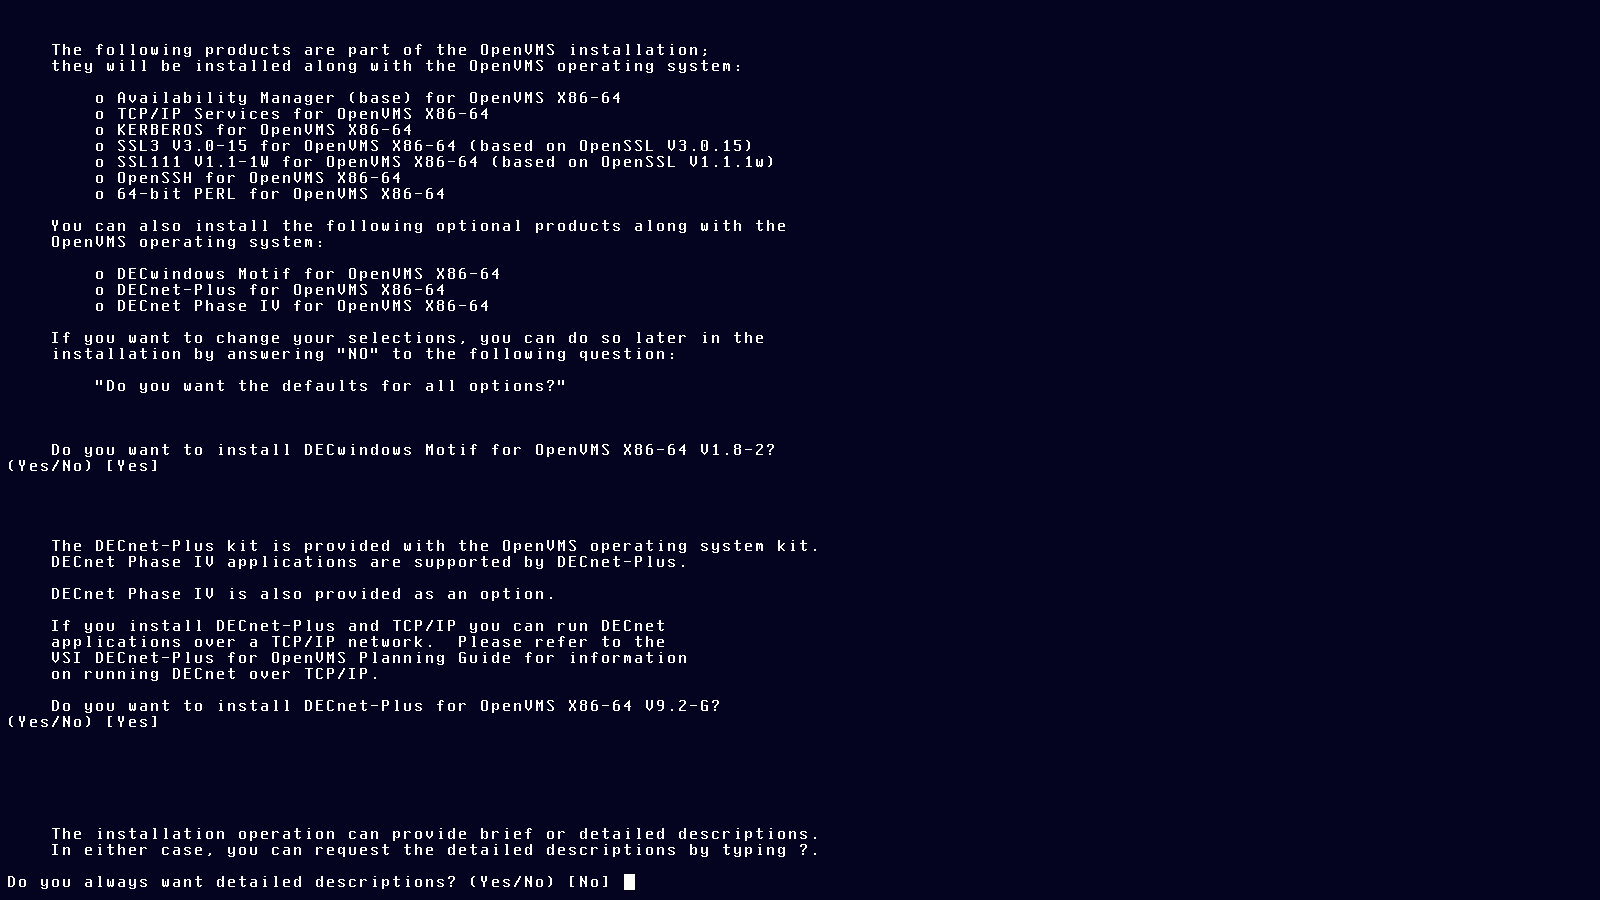
Default settings are good for most of the rest:
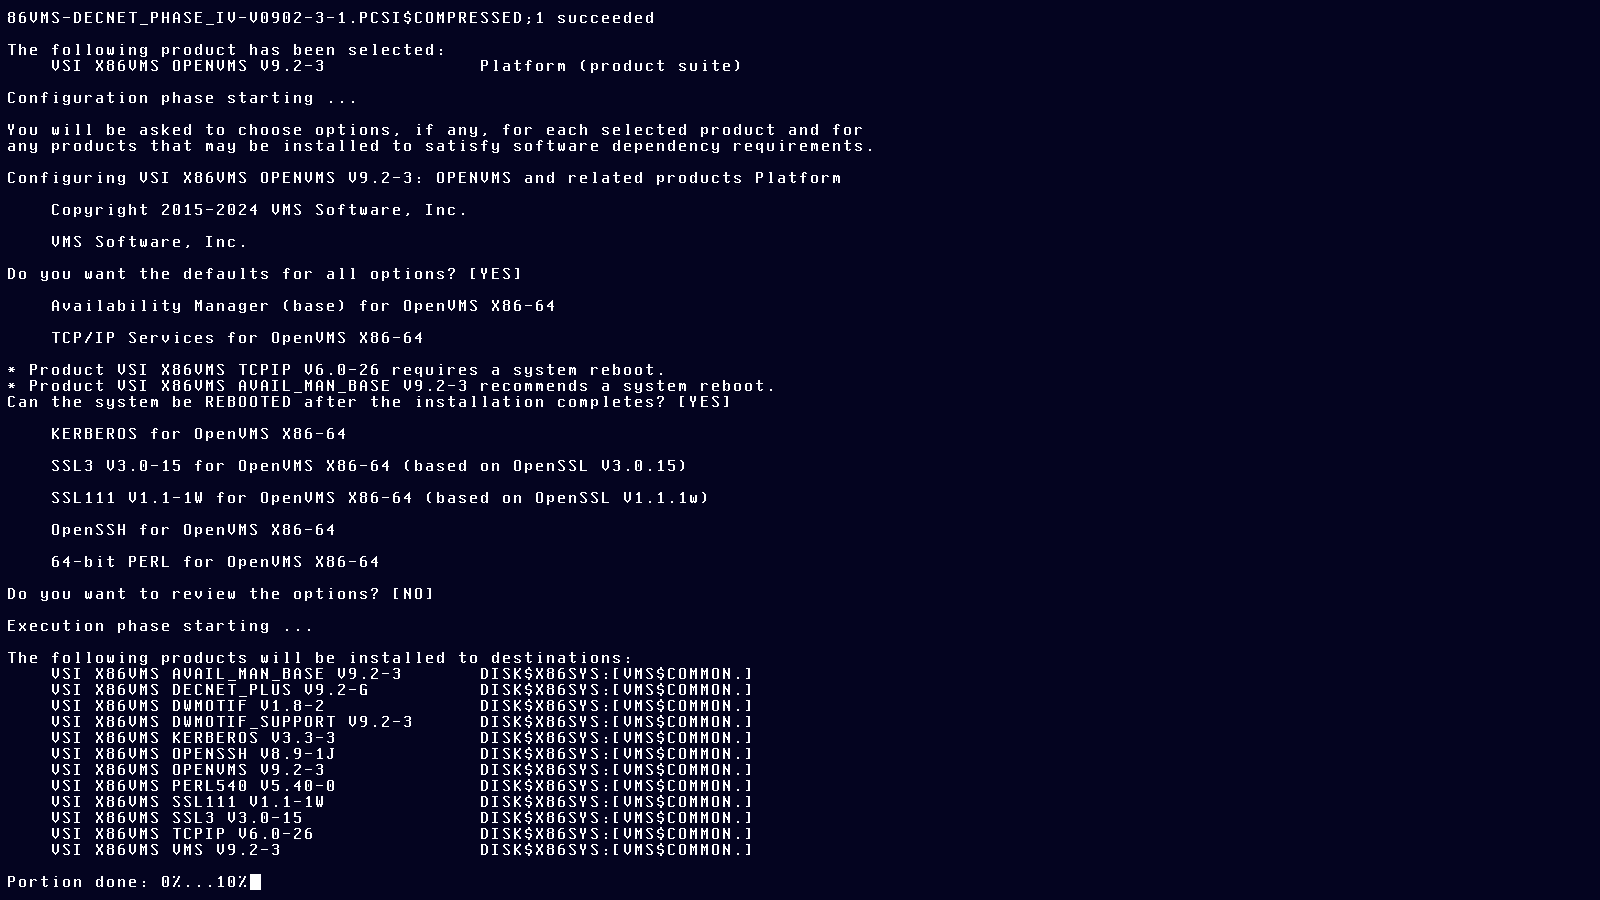
Then wait for the installation to proceed:
Again, default settings:
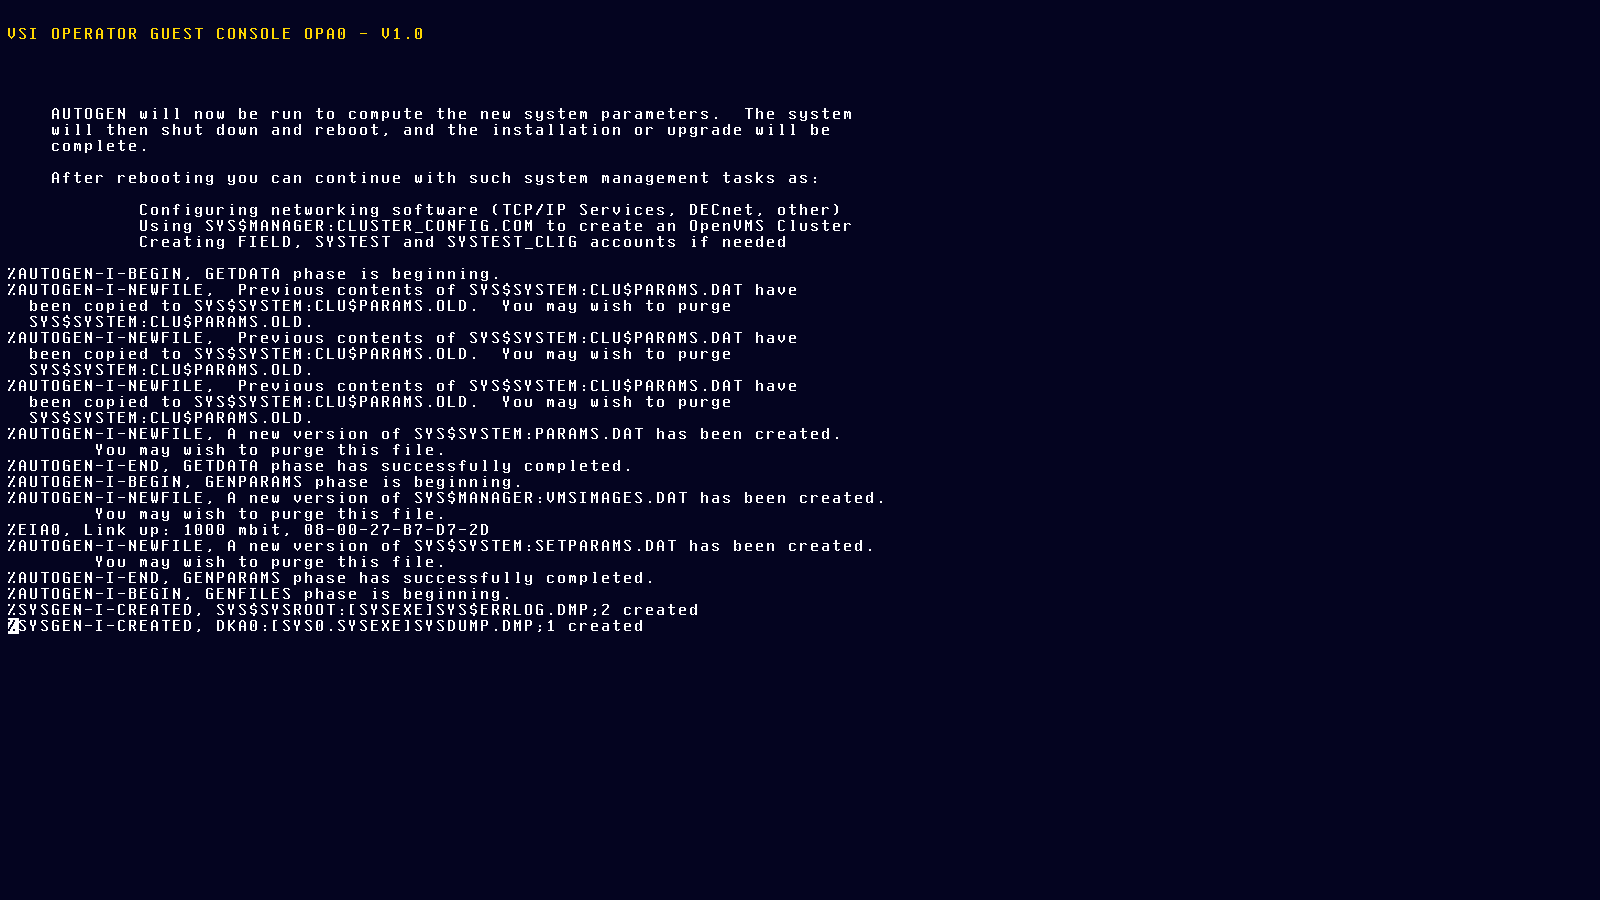
And prepare for reboot.

Reboot:
And finally, configure the boot manager to autostart the installed system:
Once rebooted, configure TCP/IP by running the procedure (batch file, script) tcpip$config.com.
$ @tcpip$configBatch files are invoked with “@” and the path to the file (with or without the suffix .com). This batch file is located in the SYSTEM user’s login directory.
It is somewhat self-explanatory:
        VSI TCP/IP Services for OpenVMS Configuration Menu

        Configuration options:

                 1  -  Core environment
                 2  -  Client components
                 3  -  Server components
                 4  -  Optional components

                 5  -  Shutdown VSI TCP/IP Services for OpenVMS
                 6  -  Startup VSI TCP/IP Services for OpenVMS
                 7  -  Run tests

                 A  -  Configure options 1 - 4
                [E] -  Exit configuration procedure

Enter configuration option:
After another reboot TCP/IP and ssh should be working:
PS C:\> ssh vbvms2 -lsystem

 Welcome to OpenVMS (TM) x86_64 Operating System, Version V9.2-3
system@vbvms2's password:

$
First thing you want to do is configure the terminal and make that configuration stay:
$ set terminal/inquire
$ edit sylogin.com
In the editor, find this place and add these commands.
They will configure your terminal the way I like it and make ssh commands available.
Press F10 or ctrl+z to save the file.
$!    =======  =================  ===========
$!     A D D    C O M M A N D S    B E L O W
$!    =======  =================  ===========
$
$ set terminal/inquire/insert/backspace=delete
$ @SSH$ROOT:[BIN]SSH$DEFINE_COMMANDS.COM
$
$!    =======  =================  ===========
$!     A D D    C O M M A N D S    A B O V E
$!    =======  =================  ===========
Create the ssh directory for the user’s ssh configuration. This is not .ssh as in Unix and Windows but ssh. (The “.” in OpenVMS is the path separator, like “/” in Unix and “\” in Windows.)
Press ctrl+z to save the text typed during file creation.
$ create/directory [.ssh]
$ set default [.ssh]
$ create authorized_keys
paste public keys here
 Exit
$ type authorized_keys.
paste public keys here
$
And log off:
$ logoff
Connection to vbvms2 closed.